Here are some photos from a recent placenta encapsulation. I think it's great for people to see the process as it helps to normalize it. This is not, however, a tutorial. If you are trying to do the encapsulation yourself from these pictures, you will miss critical steps. If you're interested in learning how to do a placenta encapsulation yourself, I recommend the only training program in the world at www.placentabenefits.info.
So here is the placenta in the biohazard container the hospital puts it in.
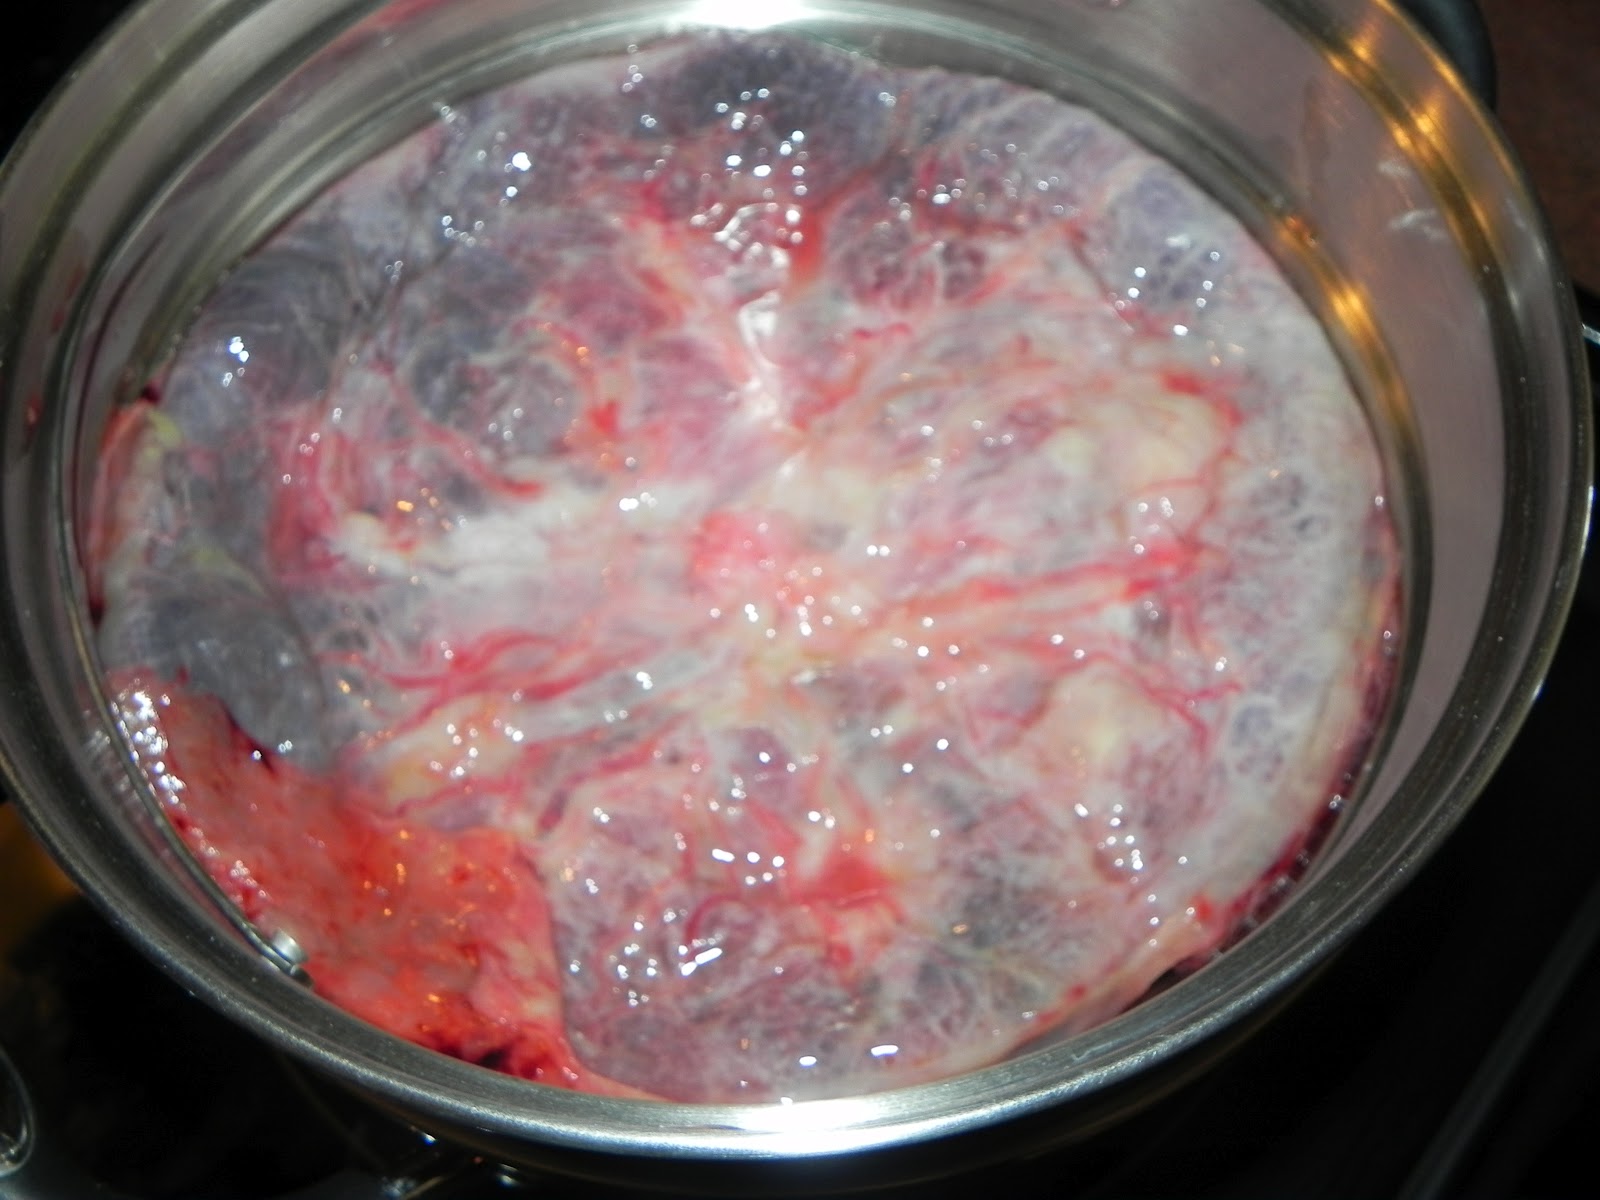
Here is the amniotic sac.
This is the fetal side of the placenta, so it faces the baby. I'm always a little sad to see how pump the veins are in the placenta like this. There's a lot of blood left, which means the baby didn't get the blood that was in the cord, which deprives the baby of up to a third of its blood. This baby was born via C section, and early cord clamping happens more frequently in a C section.
This is the maternal side of the placenta, the part that was attached to the uterus.
The placenta is ready for steaming.
Here it is being steamed.
It browns just like meat.
That's what it should look like folks.
A memento.
This is the placenta completely steamed. It shrinks up quite a bit.
Ready for slicing.
This is the placenta completely sliced.
Here is the placenta on the dehydrator sheets.
All ready for it's time in the dehydrator. Stay turned for Day 2 pictures of the process tomorrow!

.JPG)


No comments:
Post a Comment